80-82 Cao Duc Lan, District 2, HCMC, Vietnam
+84 76 865 6688
info@beetech.com.vn
+84 76 865 6688
About us
Contact us
HOME
PRODUCTS
SOLUTIONS
INDUSTRIES
PROJECTS
NEWS
80-82 Cao Duc Lan, District 2, HCMC, Vietnam
+84 76 865 6688
info@beetech.com.vn
+84 76 865 6688
About us
Contact us
HOME
PRODUCTS
SOLUTIONS
INDUSTRIES
PROJECTS
NEWS

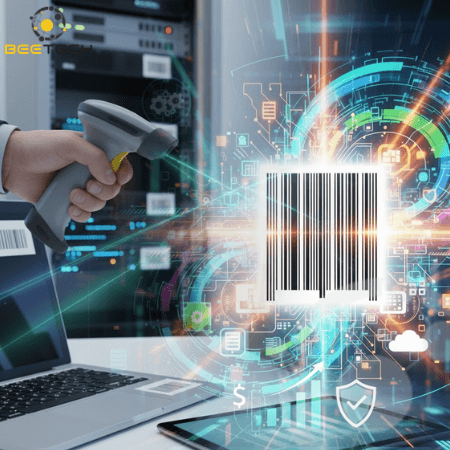
The simplest and most effective way to connect a barcode printer to a computer
In the digital age, the barcode printer (or label printer) has become an indispensable tool in warehouse management, retail, and logistics. Accurately connecting this device to a computer is the crucial first step to ensuring a smooth-running system. This article provides a comprehensive, detailed guide on the necessary setup steps, helping you quickly get your printer operational and efficient.
Thorough preparation before plugging in cables and installing software will ensure a quick process and help avoid unexpected errors.
Ensure you have all the following items:
Modern barcode printers often support multiple port types. Identifying the correct port you intend to use is essential:
This step is simple but requires care to ensure a stable data transmission.
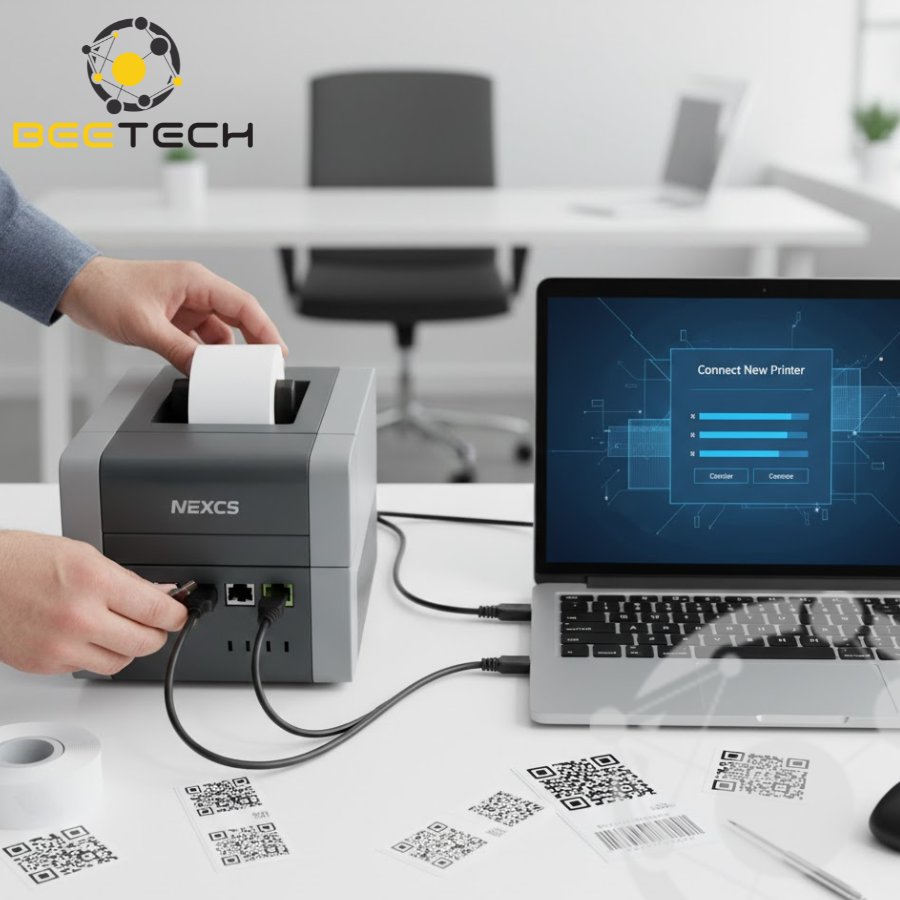
First, connect the power cord to the power port on the printer. Then, plug the other end into a power outlet. Do not turn on the printer immediately; wait until the connection to the computer is complete.
Depending on the port type chosen, this step will vary:
USB connection: Plug one end of the USB cable into the USB port on the printer, and the other end into any USB port on your computer.
LAN/Network connection: Use a network cable (RJ45) to connect the LAN port on the printer to a network port on your modem, router, or network switch.
The driver (control program) is the software that allows the computer and printer to communicate. This is a mandatory step for the printer to function.
If you have a driver CD, you simply insert it and run the installation file. However, the best practice is to visit the official website of the manufacturer (e.g., Zebra, Godex) and download the latest driver version compatible with your operating system (Windows 10, Windows 11, macOS). New drivers often include bug fixes and performance optimizations.
After downloading, proceed with the installation:
During the installation process, the program will at some point prompt you to turn on the printer’s power. This is when the computer begins to recognize and install the device driver. After powering on, the computer will recognize the new device and automatically complete the driver installation. You should see a notification like “Device is ready to use.”
After installing the driver, you need to check and configure the basic settings.
Windows: Open control panel → Devices and printers (or Printers & Scanners). You should see your barcode printer’s name appear in the list.
Right-click on the printer’s name and select printer properties.
If you connected via a network (LAN), you must ensure the printer has a static IP address or has been assigned an IP address that your computer can ping. In the port settings, check or add a standard TCP/IP port using the printer’s IP address.
Barcode printers use many different label sizes. Correctly setting the label size (width and height of the label) in the driver is mandatory:
In Printer properties → Preferences → Page Setup or an equivalent section, you need to create a Custom size that matches the dimensions of the labels you are using. An error in this step will result in labels being printed out misaligned, incomplete, or over the edge.
This is the final step to confirm a successful connection:
While the process may seem straightforward, you may occasionally encounter issues:
Setting up the connection between a barcode printer and a computer is not complicated if you follow the correct procedure step-by-step. The correct driver, stable physical connection, and appropriate label size setting are the three key factors to ensure your label printing system operates with optimal efficiency and delivers the highest accuracy in management.
With over 12 years of experience in the AutoID industry, Beetech is proud to be a leading provider of RFID solutions and smart devices in Vietnam.
Our experienced team of engineers will accompany your business from consulting and deployment to full product lifecycle support, ensuring your RFID solution operates stably and delivers maximum value.
Let Beetech be your trusted partner in building an intelligent management system, helping your business enhance its competitive capabilities and advance further in the digital age!
📧 Email: info@beetech.com.vn
🌐 Website: https://beetech.com.vn

See more products: Here

Barcode Technology in the Digital Age: Types, Advantages, Limitations, and How Businesses Can Choose the Right One
18/11/2025 04:12:49

5 Barcode Secrets That Smart Businesses in Vietnam Are Using to Boost Logistics Efficiency
12/11/2025 08:00:46

GS1 US adopts 2D barcodes and intelligent data capture – Advancing toward a transparent and modern supply chain
07/11/2025 06:33:27
Barcode Technology: The Classic Tool Evolving for a Digital Supply Chain Era
06/11/2025 03:37:29
Barcode – An efficient and cost-effective asset management solution for modern businesses
05/11/2025 04:20:46

The future of barcode scanning technology: Key trends and practical applications in the digital era
31/10/2025 04:21:05